If you're looking for a light appetizer to serve with your Thanksgiving feast, look no further than this eye-catching turkey veggie tray! Even the littlest chefs can help make this cute turkey and everyone will enjoy gobbling it up!

Why you'll love this turkey veggie tray
Our Thanksgiving dinner would not be complete without this cute turkey veggie tray! Here's why you will love it:
- An allergy-friendly Thanksgiving tradition: Growing up, our tradition was to make Ritz cracker turkeys for each place setting. With both of my kids having food allergies, I had to come up with a new tradition. I thought, why not a relish tray shaped like a turkey? In 2008, when they were 2 and 4 years old, my relish tray turkey came to fruition and it has graced our Thanksgiving table ever since!
- Light and Nutritious: This Thanksgiving vegetable tray is a wholesome and nutritious alternative to traditional appetizers. Packed with fresh, colorful vegetables, it's a light appetizer that everyone can enjoy without filling up too much before the Thanksgiving feast.
- A feast for the eyes: Not only is this veggie turkey tasty but it doubles as a fun centerpiece for your Thanksgiving table! It's sure to be a conversation starter and a hit on social media.
- Easy to make, even for little hands: Making this veggie platter is easy to do and fun! Gather your little chefs around and let them get in on the action of assembling this fun appetizer.
Ingredients and equipment
You don't need a lot of ingredients or fancy equipment to make this turkey veggie tray. Here's what you'll need:
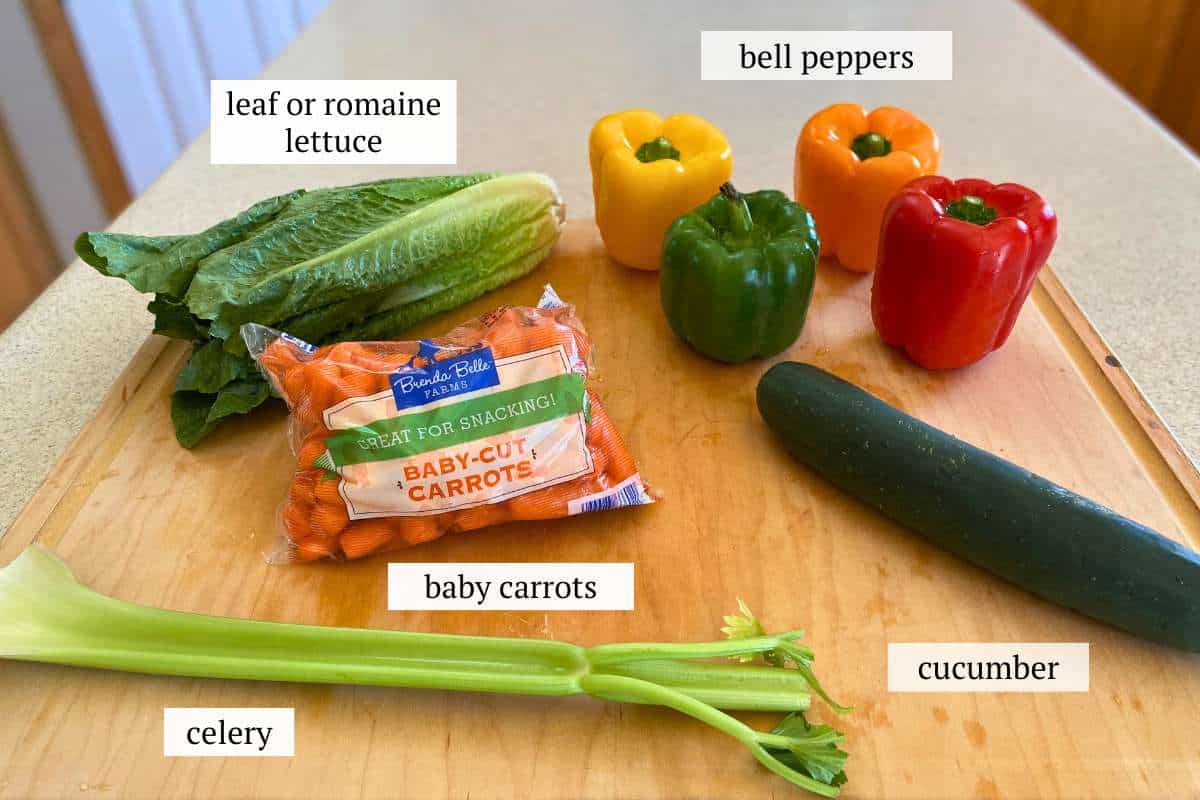
- Lettuce - For the "bed"/background of the tray. Leaf or romaine lettuce works the best.
- Bell peppers - a green pepper for the face and feathers and a yellow and a red pepper for feathers. You can also add an orange pepper for even more color.
- Baby carrots - a 16-ounce bag works well.
- Large cucumber
- Celery stalk
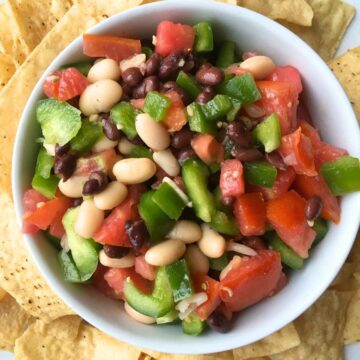
- Black beans (not pictured) - for the turkey's eyes. I open a can of black beans which seems wasteful for two black beans but I use the leftovers to make black bean dip or throw them in the freezer to use in chili later on. See tips and variations below for more ideas.
Equipment
- Toothpicks - to attach the beak, the snood, and eyes to the face.
- A 12-inch round platter - any plate will do because you'll be covering it all up with lettuce.
- A knife
- A veggie peeler
Instructions
Before assembling the veggie tray, start by prepping the vegetables.
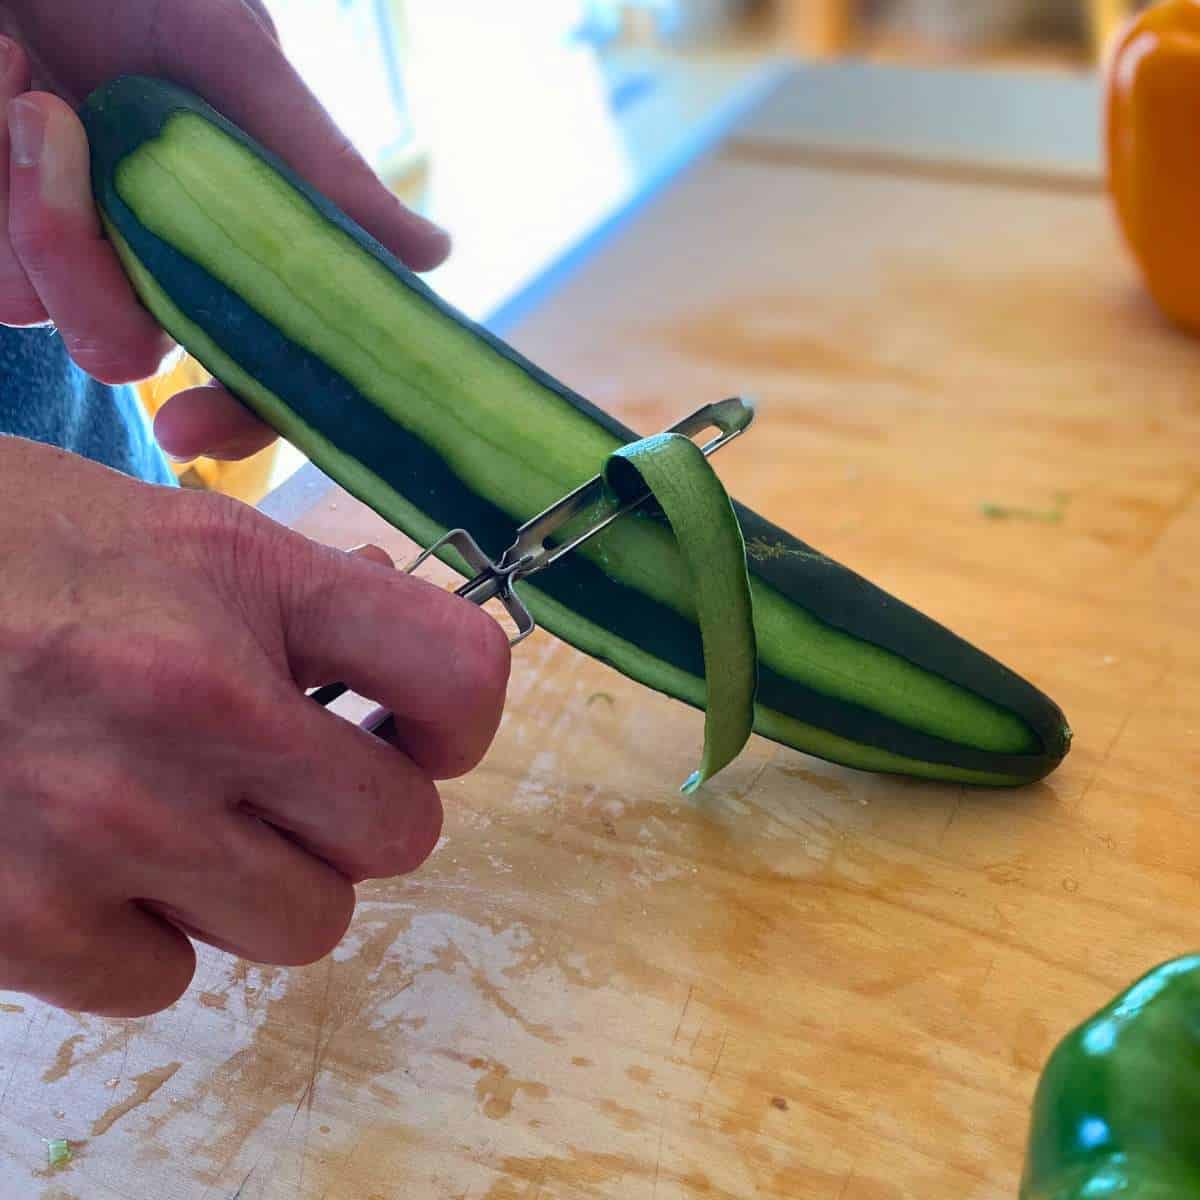
Use a vegetable peeler to remove some of the tough cucumber skin and to create an attractive design.
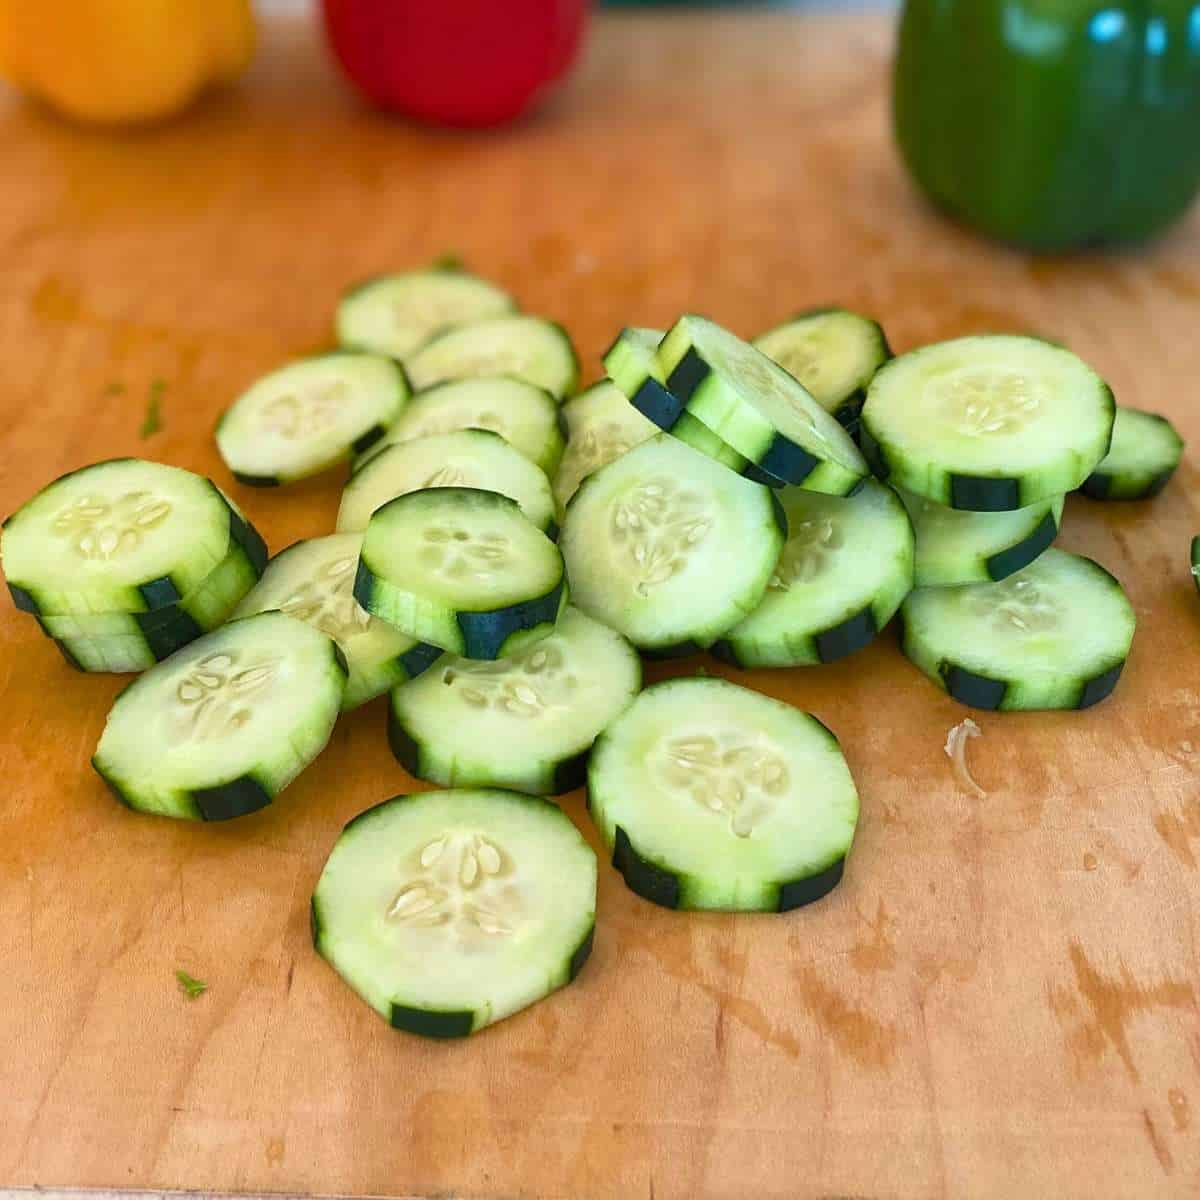
After the strips of skin are removed, slice the cucumbers into coins.
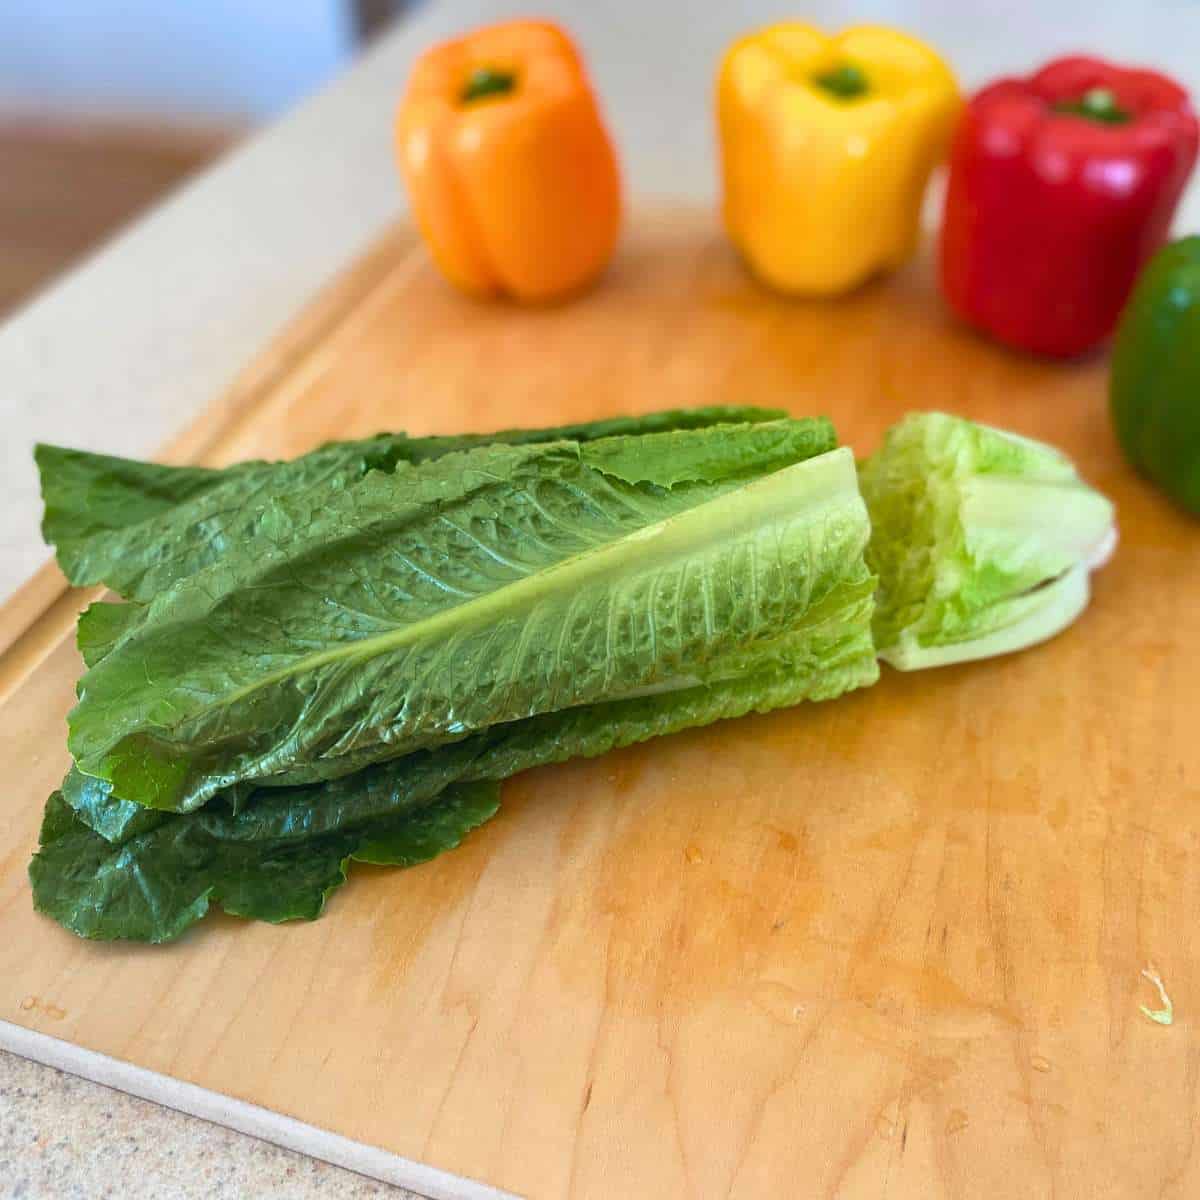
To prepare the lettuce, cut off the stem end, wash the lettuce leaves, and let them dry.
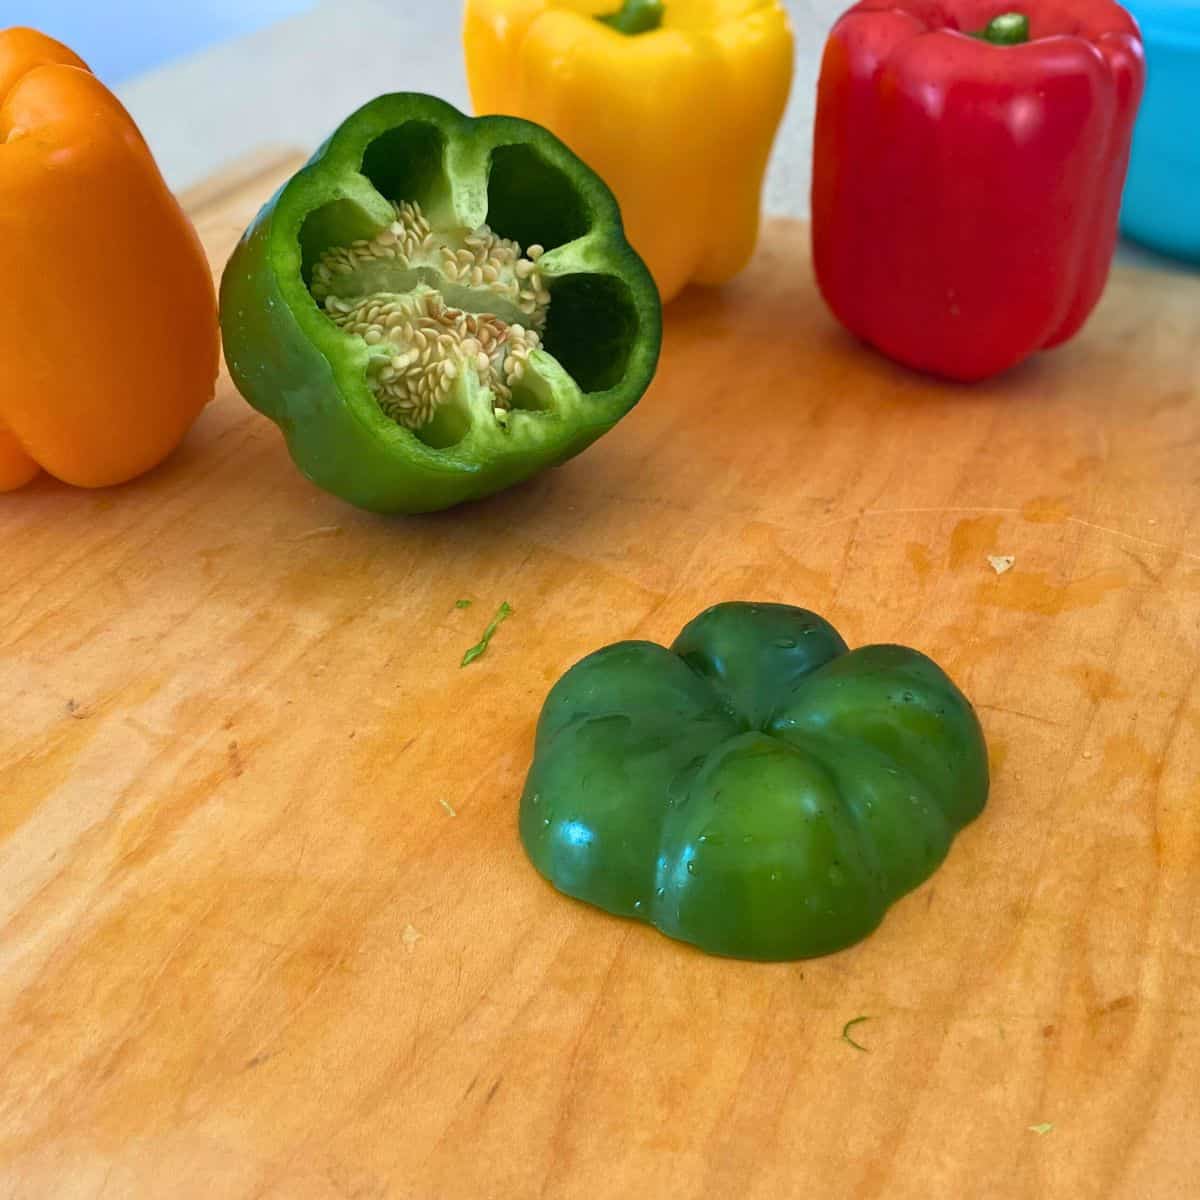
For the turkey's face, you'll need the bottom of a green pepper. Cut the bottom off and set it aside. Then cut around the outside to remove the seeds and membrane. Then cut out the stem.
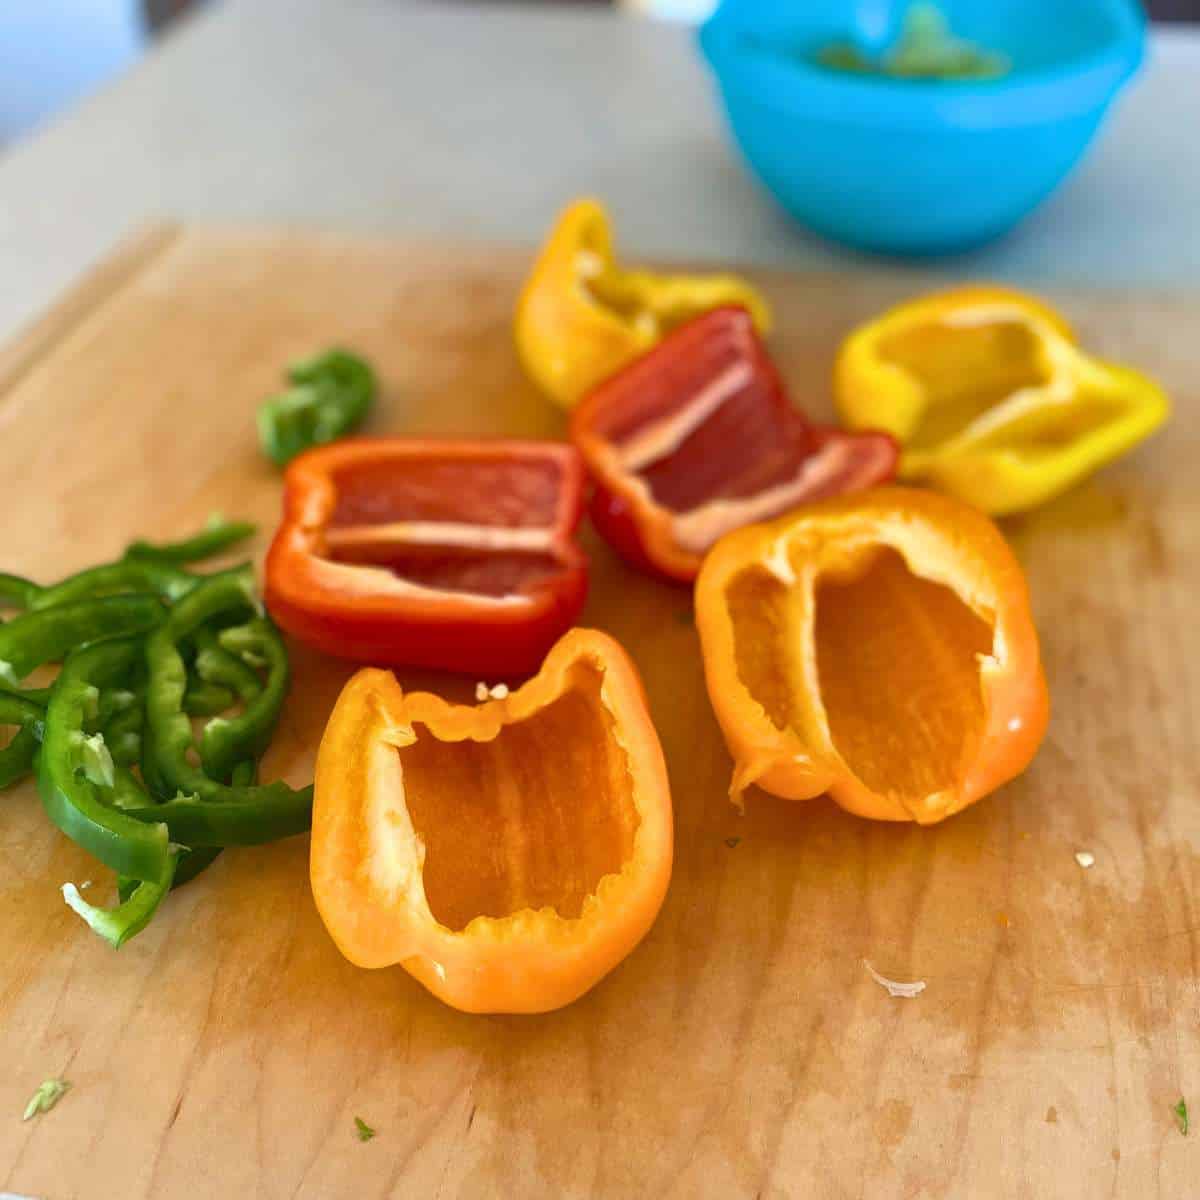
Remove the seeds and membranes from the remaining peppers and cut them in half lengthwise.
Next, cut them into strips crosswise. The strips end up being a wavy shape which I think works well as feathers!

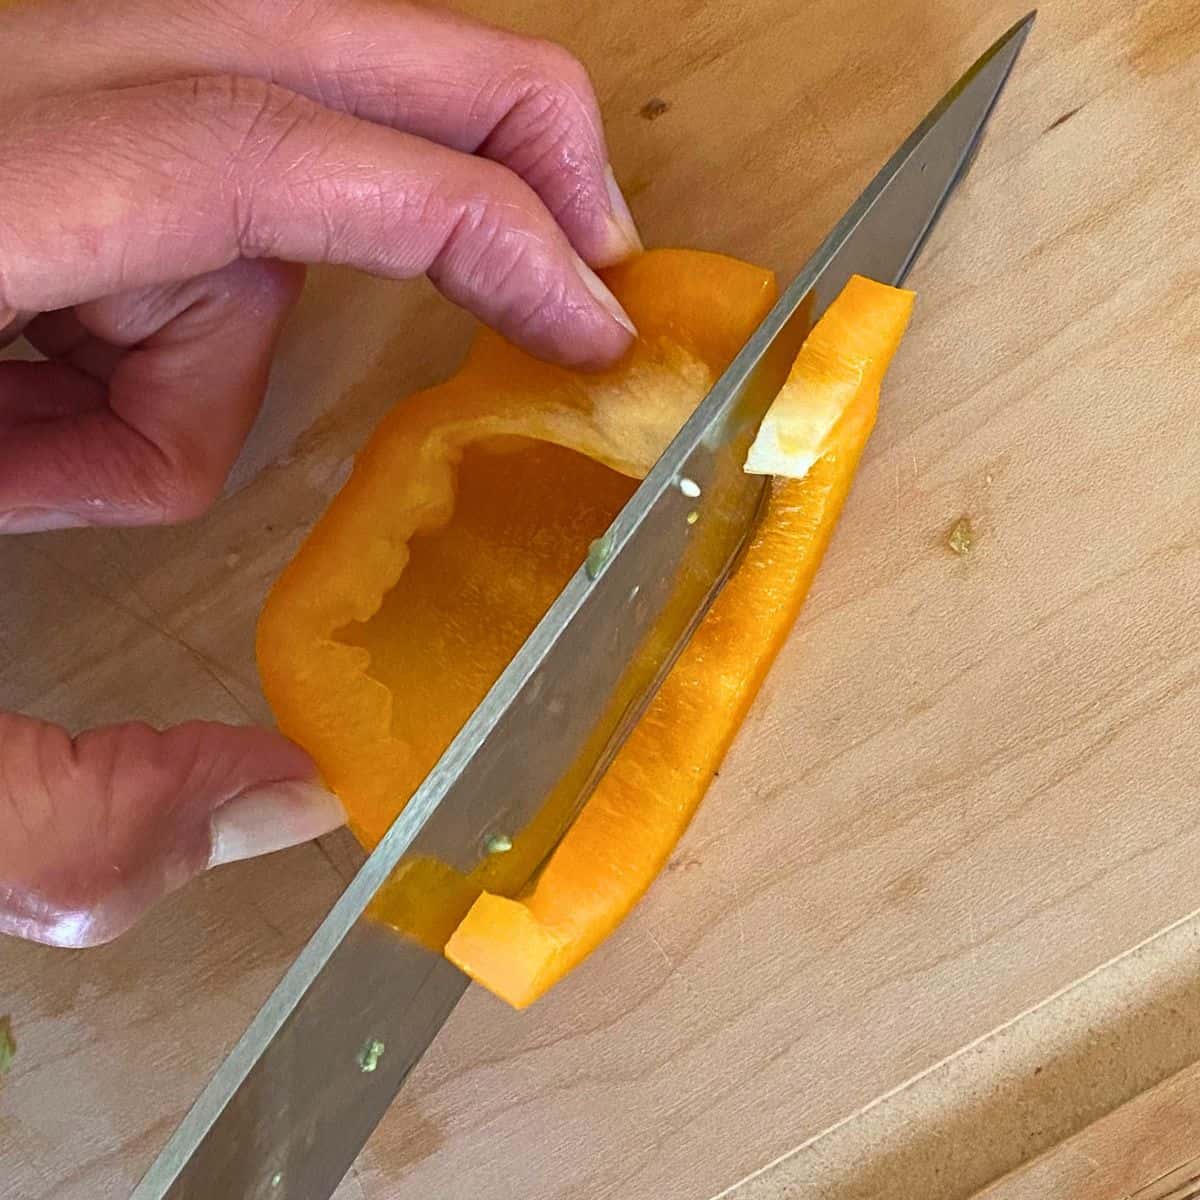
Finally, take the bottom of the yellow bell pepper, cut a triangle for the beak, and set it aside.
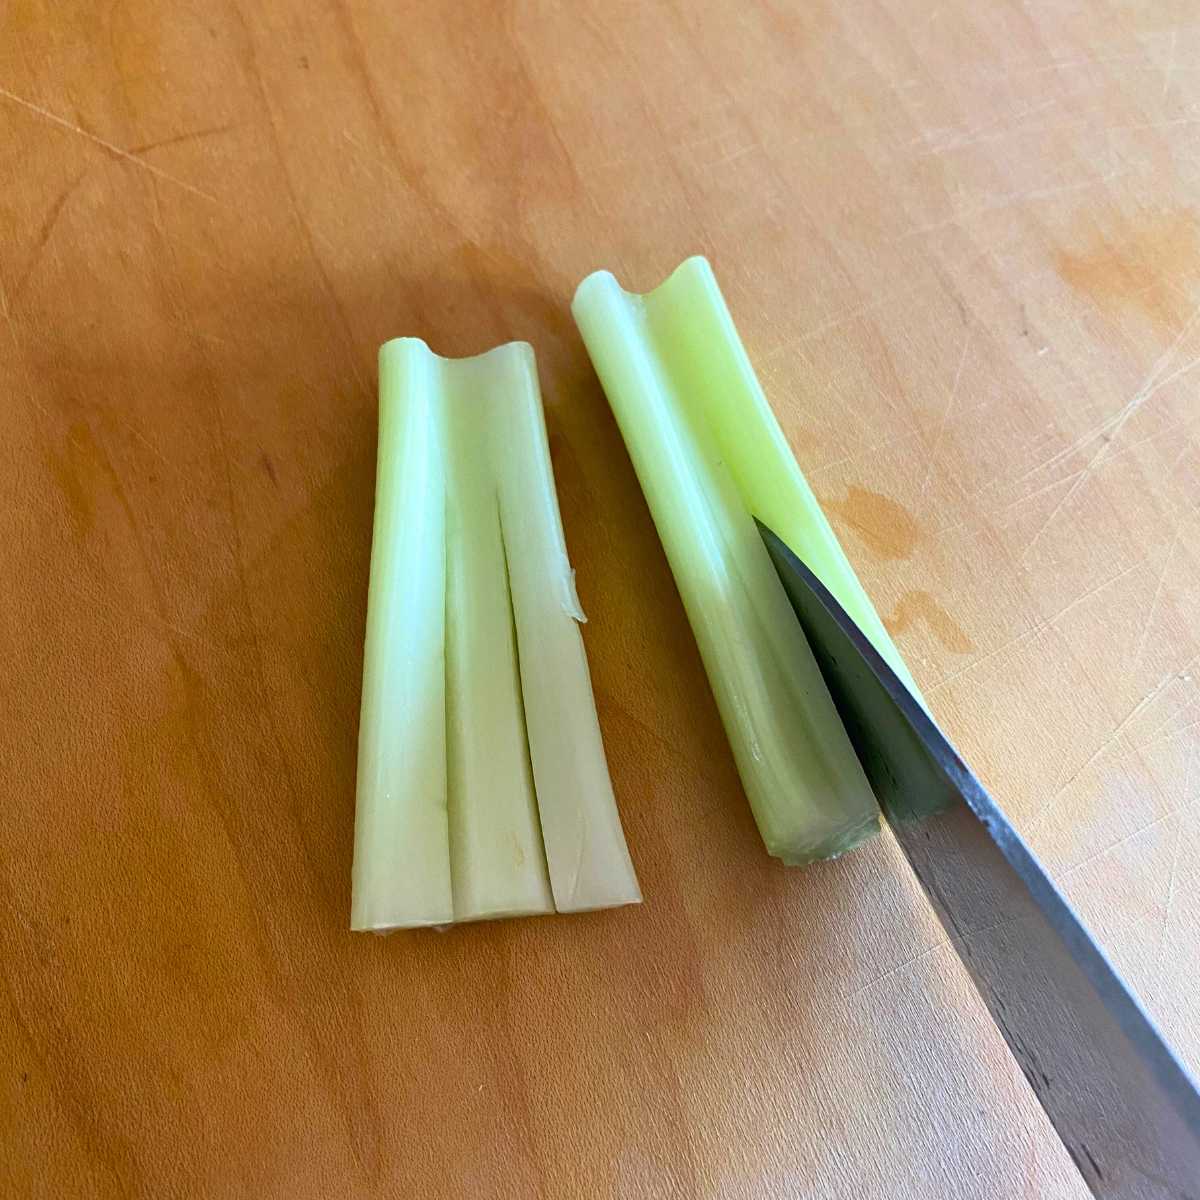
For the celery legs/feet, take two celery sticks and slice them from the middle downward so half of it is sliced and half is not. Then put it in a bowl of ice water. This helps the ends curl out to look more like feet.
Assembling the vegetable tray
Now that the vegetables are cut and prepped, you can get your little chefs involved with assembling your turkey!
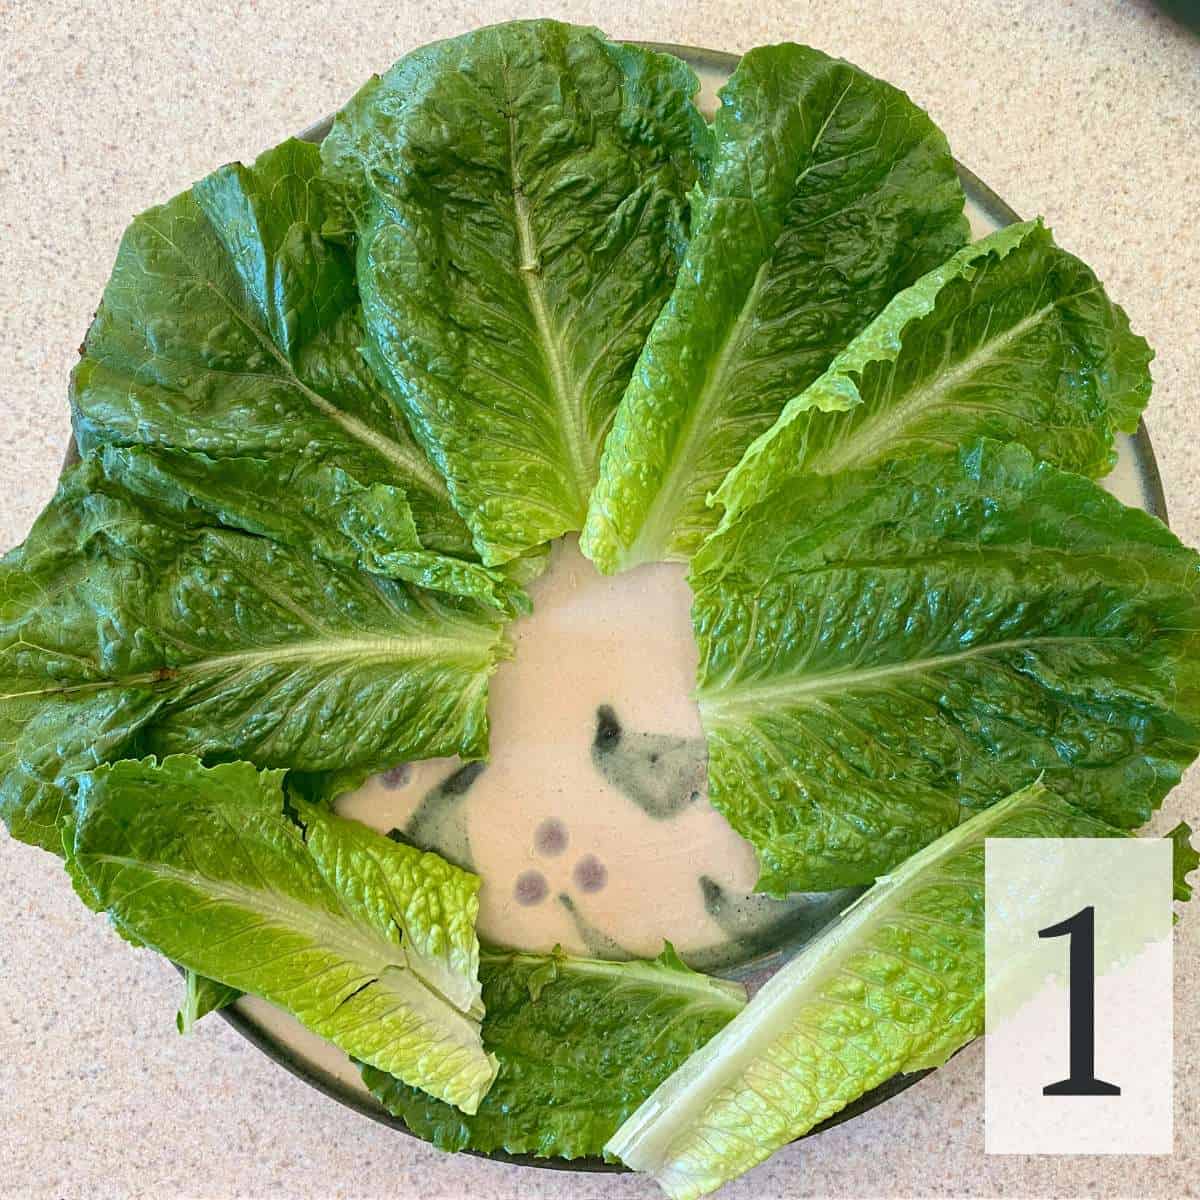
First, put a layer of lettuce on your plate. If using romaine, it will work best to remove the bottom more rigid parts of the leaves. I chop those up and use them for a salad.
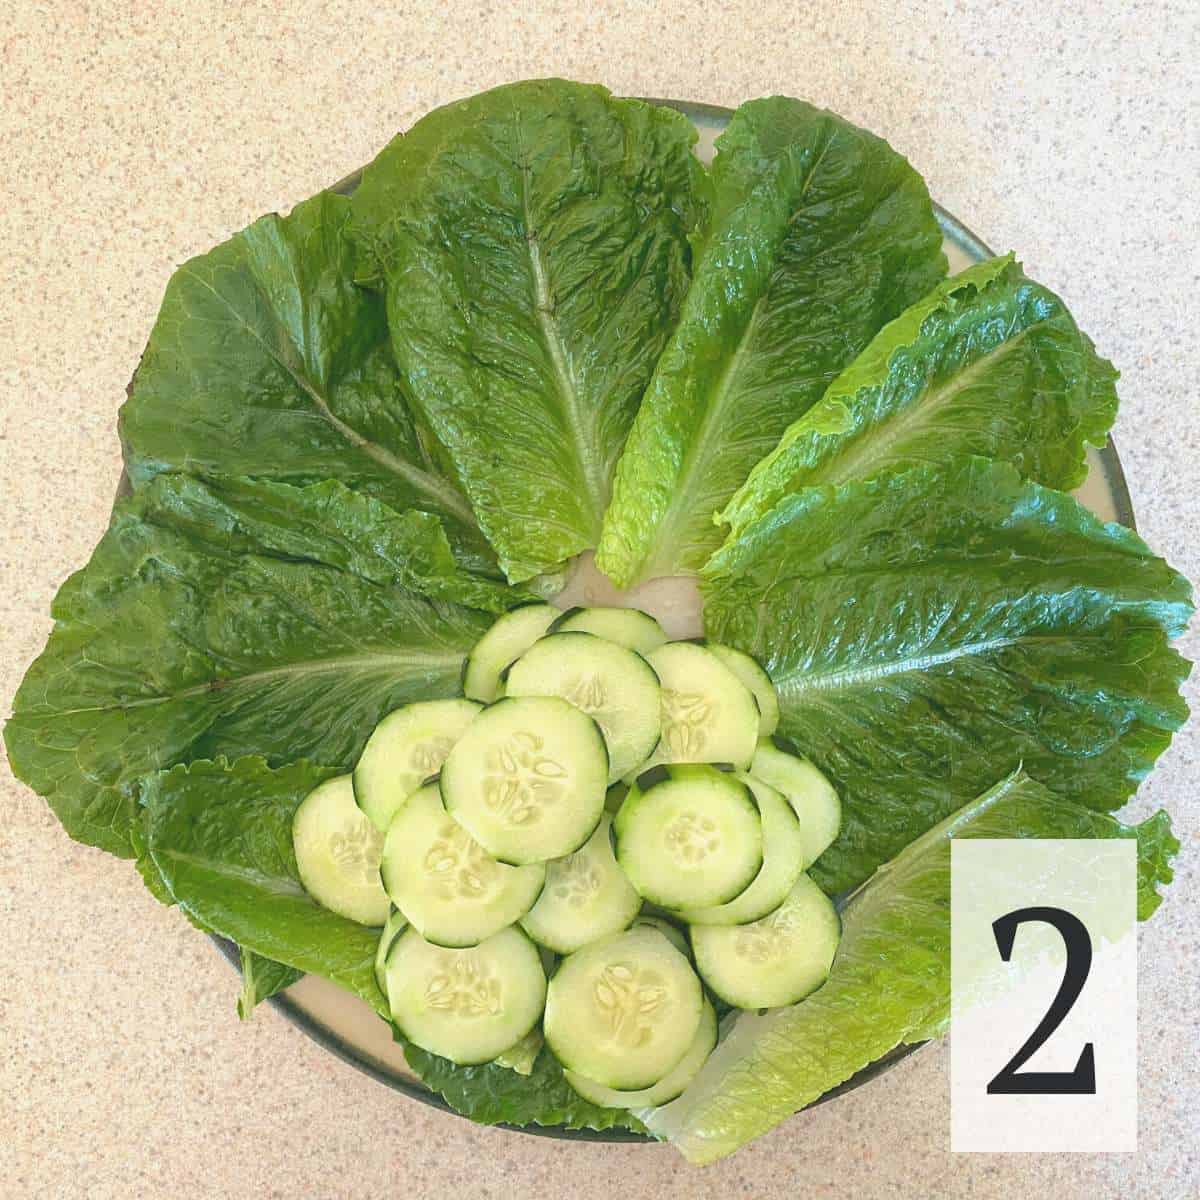
Next, make a circle of cucumbers toward the bottom of the plate. Put a few layers but make the top layer about the same size as the bottom so the pepper face can rest on top.
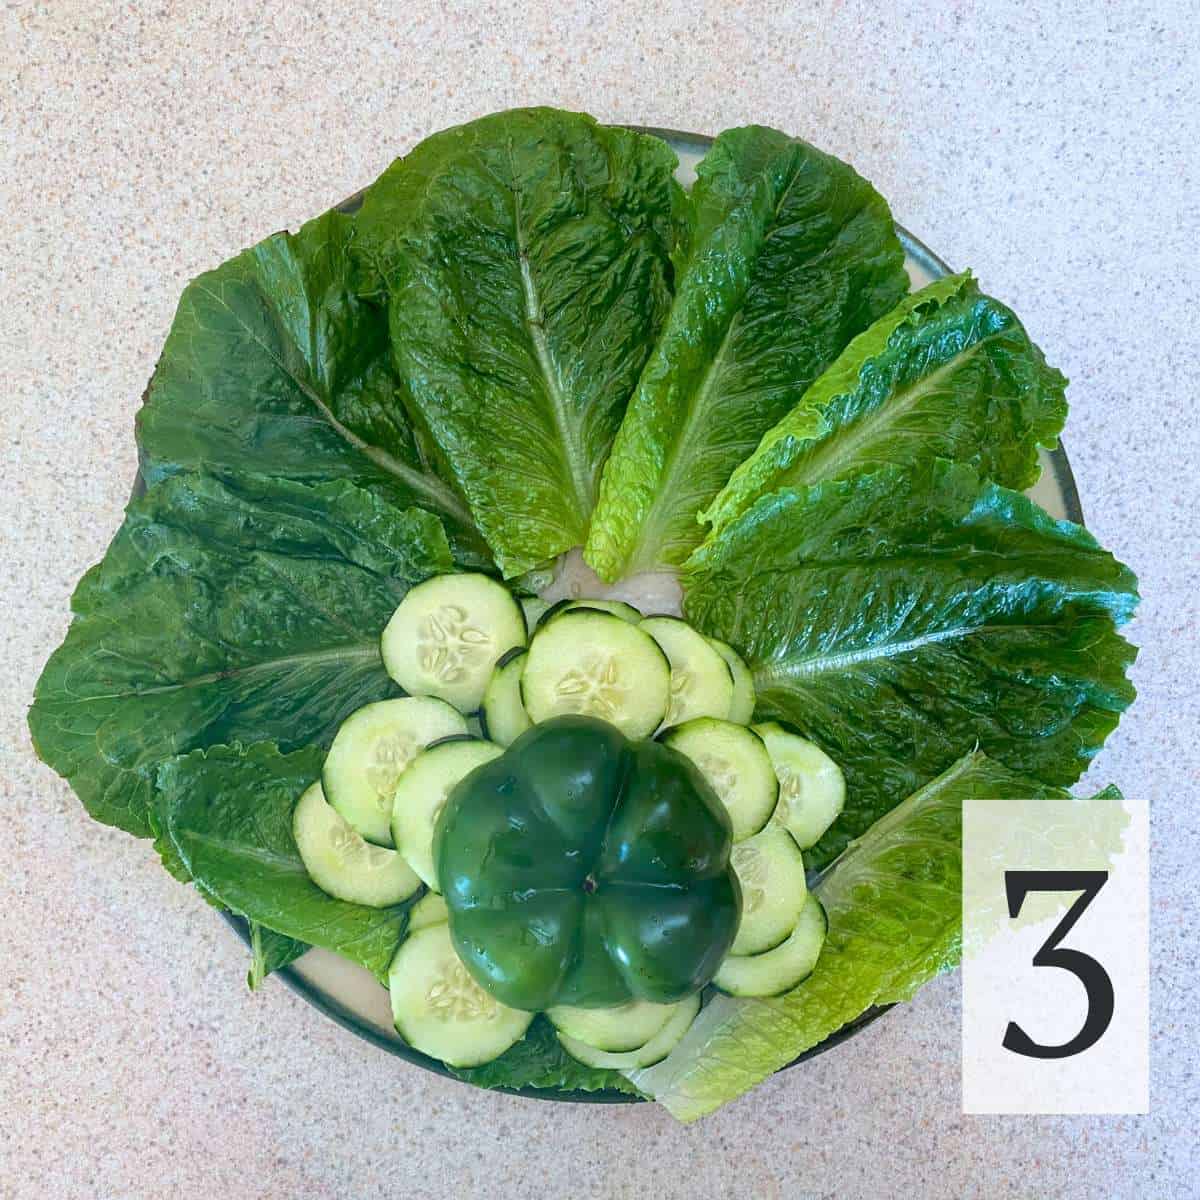
Next, add the bottom of the green pepper that is set aside for the turkey's face.
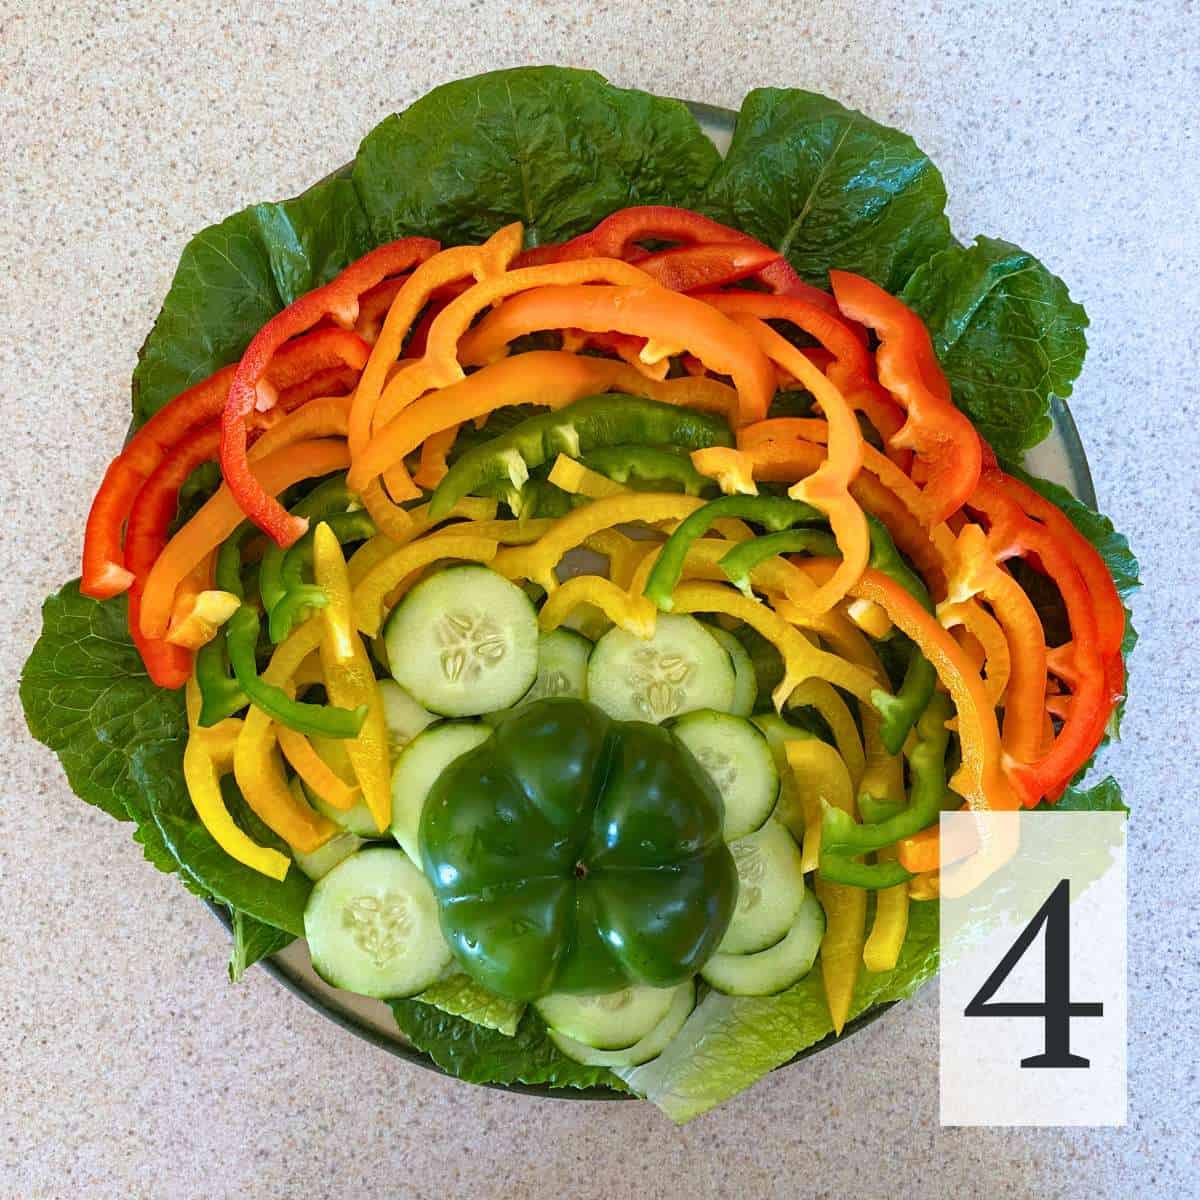
Add the pepper slices around the cucumber mound, one color at a time to create the feathers.
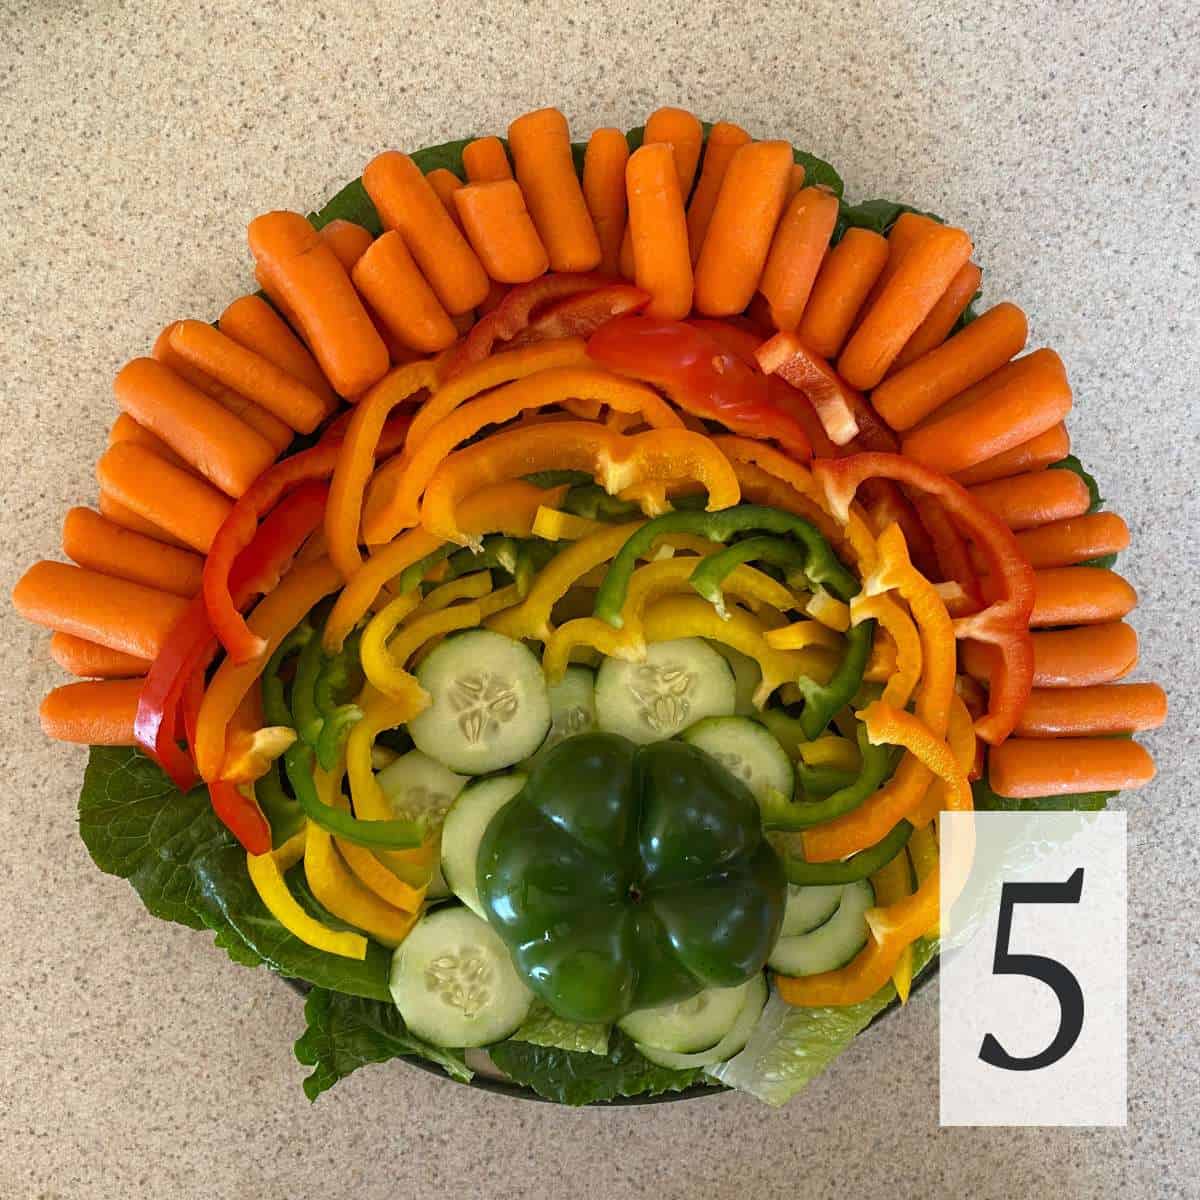
Then, add baby carrots around the outside edge of the plate. Two layers of carrots works well.
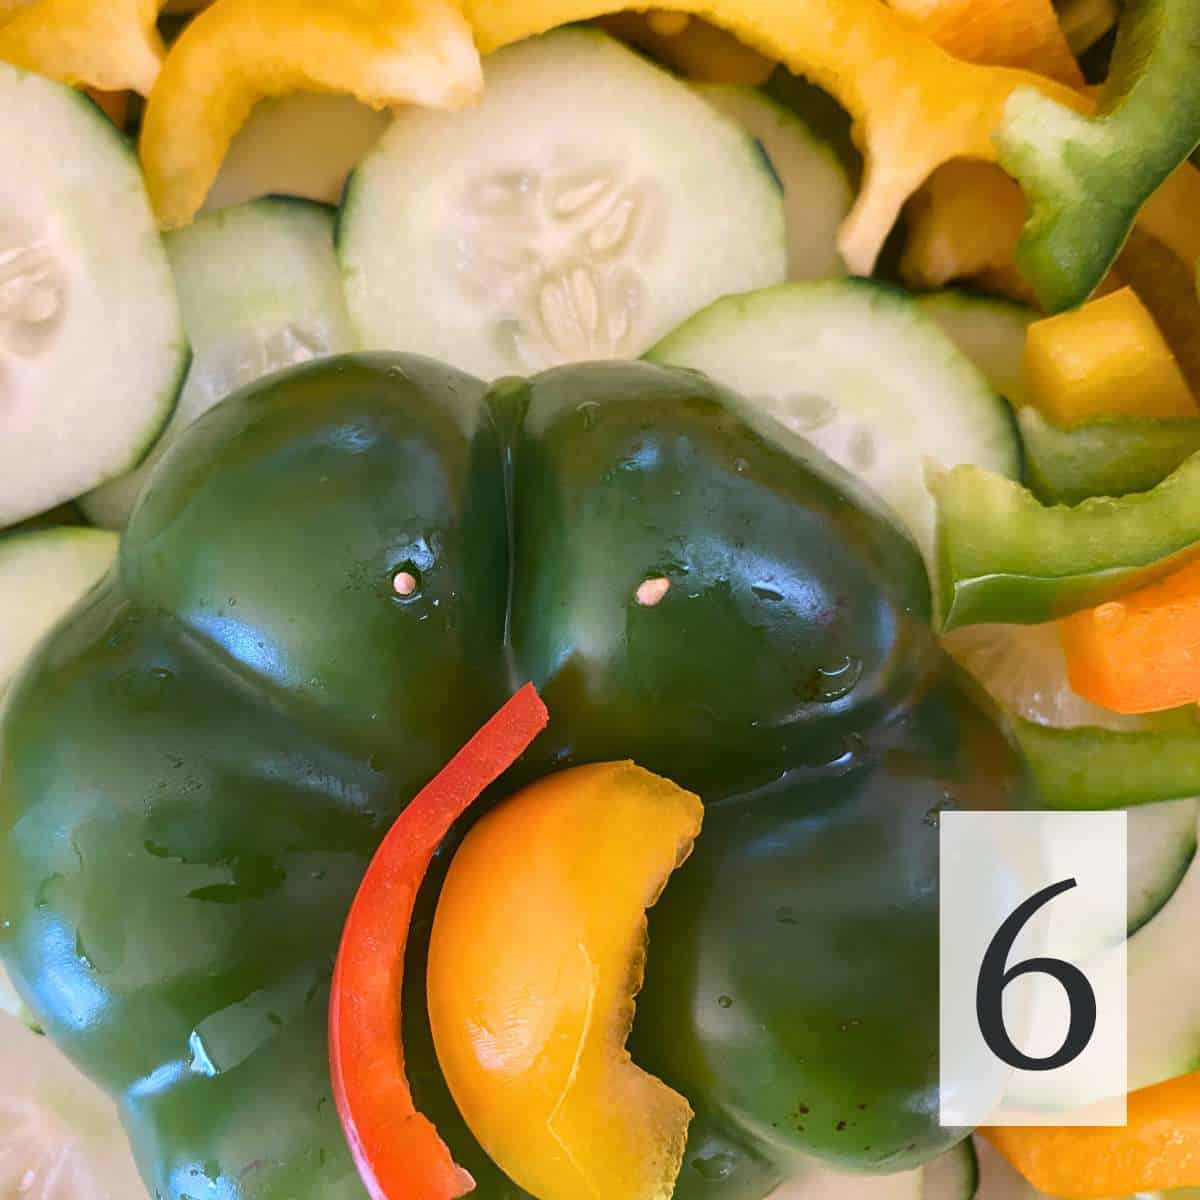
Break a toothpick into quarters and position them for the eyes, beak, and snood. Attach black beans for the eyes, use the reserved yellow pepper for the beak, and add a small piece of red pepper for the snood.
To make the snood curvy, I take a paring knife to shape it.
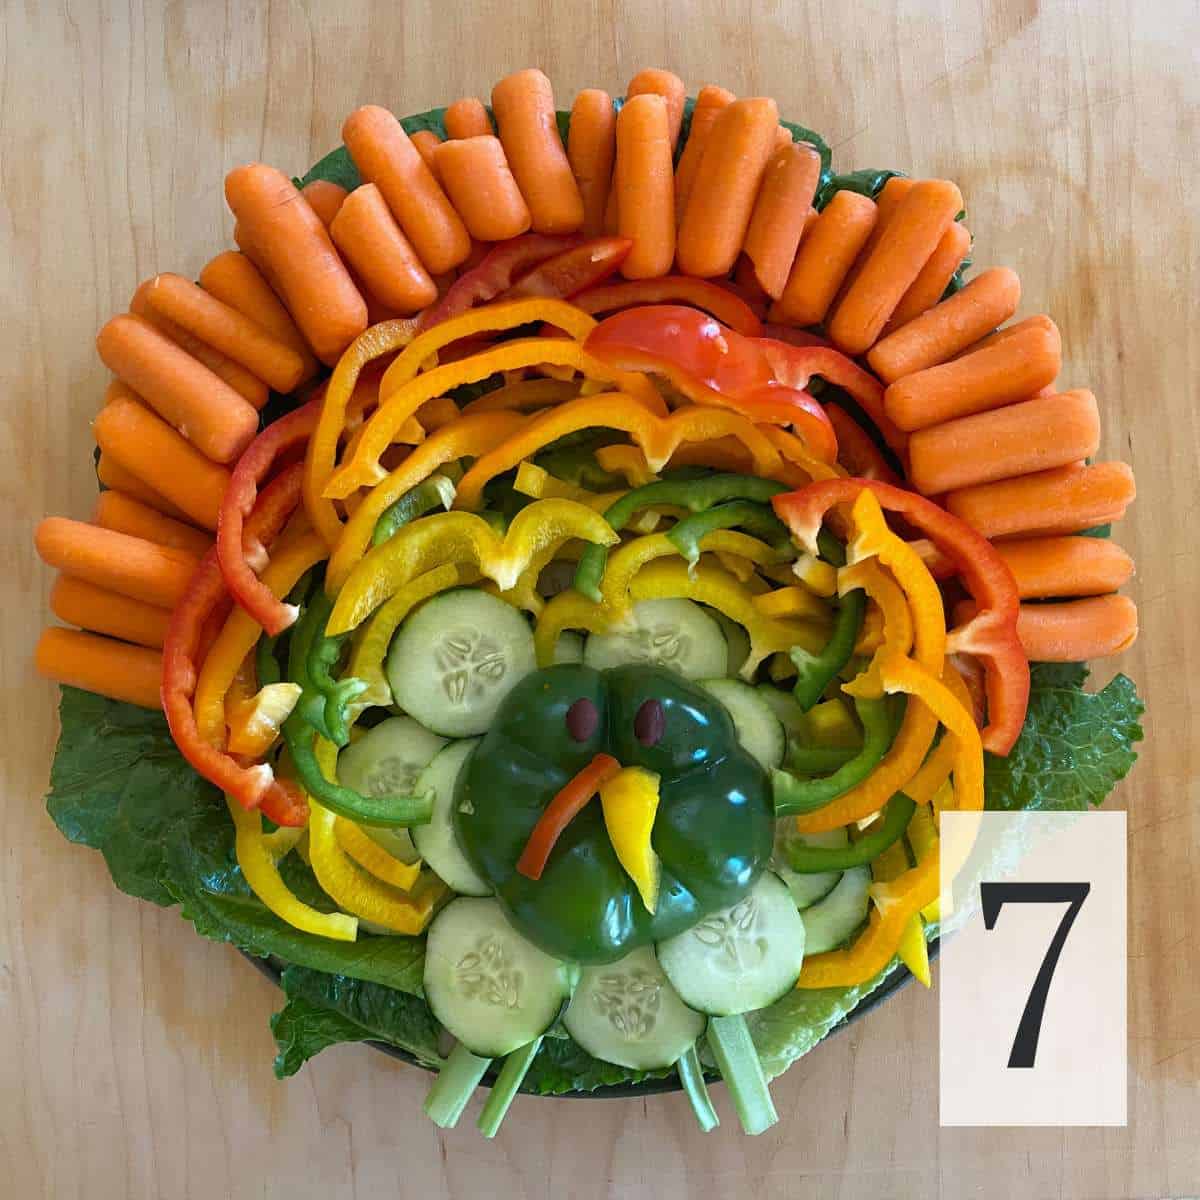
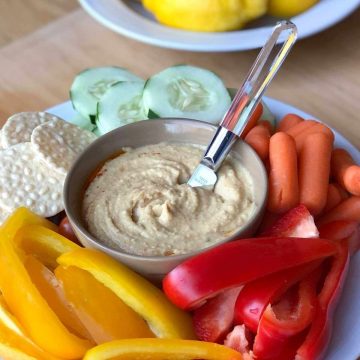
Finally, add the celery legs. Add a bowl of gluten free hummus or your favorite vegetable dip on the side and serve!
Tips and Variations
Vary the veggies
I opted for bell peppers, cucumbers, and carrots in this veggie tray because they're easily accessible, provide a diverse color range, and are favorites among everyone in my family. You can choose whatever vegetables you like! Here are some ideas:
- If cucumbers aren't a hit with your family or guests, consider switching them out for zucchini or summer squash.
- For a unique shape, try cherry tomatoes in place of red peppers.
- To introduce variety in texture and color, you can also include broccoli and cauliflower. Experimenting with different veggies adds a delightful twist to your turkey veggie tray!
Prepare extra veggies
Don't forget to have some extra veggies ready to restock the tray as guests snack away. I typically prepare double the amount needed for the tray, giving us some leftovers for snacking or tossing into salads in the coming days.
Also, the process of assembling the turkey can be a surprisingly effective way to encourage your little helpers to snack on veggies. By having extra vegetables ready, you not only cater to their newfound interest but also ensure there's an ample supply of these nutritious treats for everyone to enjoy!
For the eyes
The turkey's personality comes through its face, especially those eyes! But you might not want to use black beans as I did. So what to use for eyes for a turkey veggie tray? You are only limited by your imagination!
- Consider black olives, whether whole or sliced, as a great alternative. To fill the center, you can use a white bean, a piece of cauliflower, or even a cucumber cutout.
- For a hassle-free option, go for pre-made candy eyes. Dampen the bottom for better adherence or use a small dab of hummus as a sticky base. Your turkey's eyes can be as imaginative as you want them to be!
Enjoy the process!
Since 2008, we've crafted a turkey veggie tray each Thanksgiving, and not a single one has turned out the same. The key? Embrace the fun and don't stress if yours looks a bit different from the picture! It's the unique twists that make each creation special.
Throughout the years, I've enjoyed seeing the duplicates and imaginative variations that people have shared on social media.
If you whip up your own masterpiece, share it on Instagram and tag @eatingwithfoodallergies or pin it to my Pinterest board! Let's celebrate the joy of creating together!
📖 Recipe

Turkey Veggie Tray
Ingredients
- Romaine or leaf lettuce
- 1 cucumber sliced
- 1 red bell pepper
- 1 yellow bell pepper
- 1 green bell pepper
- baby carrots
- 2 black beans or black olives
- toothpicks
- ⅓ celery stalk
Instructions
- Slice the bell peppers crosswise and then cut each circle in half. Cut one ½" piece off of one of the red pepper slices and set aside (this will be used for the face). Set aside the bottom part of the peppers for the turkey's body.
- For the feathers: Cover a 12 inch round platter with the leaves of lettuce. To make the turkey's feathers, start with forming a circle with the cucumber slices towards the bottom of the platter. Above the cucumbers, form a semi-circle with the red peppers, then the yellow peppers, then the green peppers. Place the baby carrots vertically above the last row of peppers.
- To make the turkey's body and face: Break two toothpicks in half. Put two of the toothpicks where the eyes will go. Push the black beans onto the toothpick making sure that the toothpick doesn't go all the way through. Cut a triangle out of the leftover bottom from the yellow pepper. Attach with a toothpick below the eyes. Attach the reserved red pepper piece to the left of the yellow pepper "beak".
- For the Legs: Cut the piece of celery in half lengthwise. On each piece, carefully slice lengthwise from the end of the celery piece to almost the center. Do this twice on each piece. Place the celery in ice water and place in the refrigerator until the ends curl. When curled, nestle the un-curled end under the cucumbers.
Serve with hummus or other allergy friendly dip.
Love this recipe?
Please leave a rating ⭐⭐⭐⭐⭐ and share your comments below!
Stay in touch on social media! You can find me @ Instagram, Facebook, and Pinterest. I love getting your feedback so please tag me if you try a recipe!
Gobble, gobble!

- Nut Free Protein Bars - July 8, 2025
- Gluten Free Swedish Meatballs Recipe (Top 9 Allergen-Free) - February 2, 2025
- Cranberry Apple Sauce {Gluten Free, Top 9 Allergen Free} - November 9, 2024
Julie says
Adorable!!! I’m making this tomorrow for Thanksgiving.
What size platter did you use?
Thanks,
Happy Thanksgiving ??
Julie Butler
Natick, Mass
Kristi says
Hi Julie,
Thanks for your message! I use a 12 inch round plate which works well. I will add that to the recipe. Thanks again and enjoy your Thanksgiving!